
How to Assemble a G Force Mock Up Swap Block
Assembly Instructions for any G Force Mock Up Swap Block™
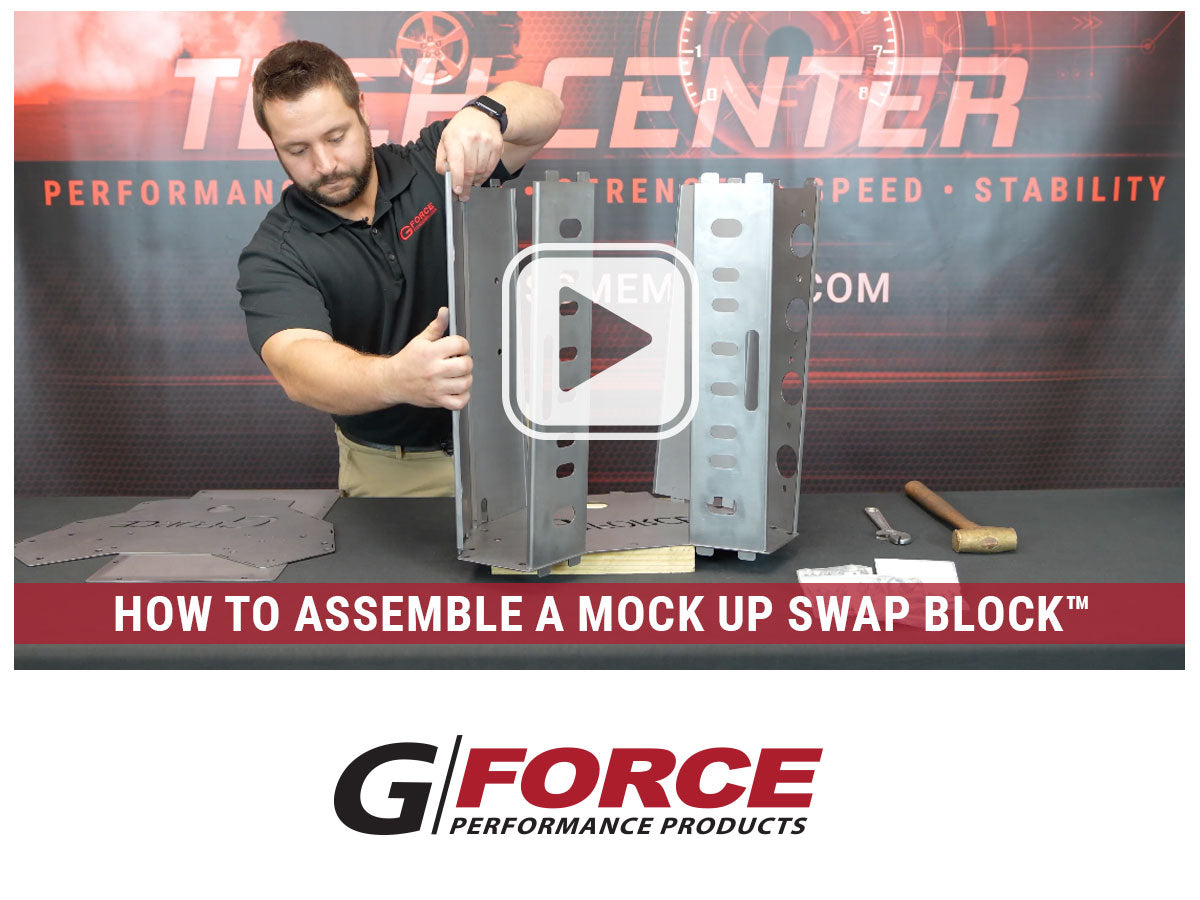
Welcome Back
Jordan from G Force, home of the patent pending Swap Block™ Mock Up Blocks.
Today I’m going to show you how to assemble an LS version of our Swap Block.
So, in front of me, we have all the individual components that come with our kit. Our Swap Blocks are shipped flat for ease of shipping and they also all include hardware kits to bolt your motor mounts, accessories, bellhousing, and exhaust manifold to your mock up blocks.
A couple of things to note, before we get started is that it’s a good idea to have a couple of pieces of wood to elevate the bottom plate surface from the table so that your tabs can slide through the slots. A couple of tools that you’ll need is a hammer and a crescent wrench.
So we’re going to get started. All of our plates have laser etching in them which makes it very easy to assemble. Right, so you’re going to take your back plate at least for the LS block and it’s going to have laser etching, in all of…next to all of the slots. And you’re going to take the corresponding panel here and this is one for a motor mount, and it going to say B, L and you’re going to line up with the B, L [on the back plate]. And you’re going to make sure that these reliefs are facing inward, and then you’re going to slide the tabs into the slots.
You’re going to do the same thing for the other side, B, R. We have a couple of intake panels here. We’re going to line up the letters. Make sure that this slot is—has clearance. So this guy goes over on this side. And this one goes over here.
Now we’re going to do the exhaust plates. The one says EX, and L. We’re going to line up the EX, L on the back panel. We’re going to do the same for the right side here.
Okay. Now it’s time to put the front plate on. You’re going to make sure that the G Force is facing up. And we’re going to line up all the tabs and slots. Sometimes this takes two people, but I’m going to do this by myself. There we go. That wasn’t too bad.
So the next step is to bend over all of our tabs so that it creates a ridged connection. So we’re going to take our crescent wrench, and we’re going to start all these to be bent over. Just one at a time. Get them started. They’re all facing inward. Okay. Now we take out our hammer. Now as we’re doing this, this is sucking in everything together and creating a rigid structure.
So now that we have the front plate on, we’re going to flip this thing around and attach the back. We’re going to repeat that process of bending over all of the tabs [and hammering them down].
Okay, now that we have the back panel connected, we’re going to put it upside down and attach the oil pan piece. So we’re going to line up these holes. Okay. Bend the tabs over, [and hammer them down].
Okay, so now we have assembled our lightweight, rigid, and accurate Swap Block Mock Up Block in front of us. This thing is great for test fitting your motor mounts, your front accessories, exhaust manifold, transmission location, etcetera.
This one is an LS, but we also have a Gen 5 LT, Ford Godzilla, and a Small Block Chevy. We’re also coming out with new mock up blocks as we speak.
So, be sure to check out our website to find out more about our Swap Block Mock Up Blocks at crossmembers.com.
Thanks for watching.
Watch our YouTube Channel.